Page 9 of 27
Posted: Wed Mar 04, 2009 7:14 pm
by ProT
Matt, on the subject of your front alignment.
I was reading an article on the City R in a Feb 82 Wheels magazine and found the following paragraph interesting.
"Castor is two degrees on all models and there is negative offset steering - but not much and not symmetrical. There is 2mm on the left hand side and 6mm on the right hand side...adopted to eliminate torque steer, the differences matching the differences in angles of the drive shafts, which of course are not the same length."
Could someting like that account for a few mm in your measurements?
Posted: Wed Mar 04, 2009 8:11 pm
by turbocab
i dont know (does it bigelboe)but well done on the research mate
Posted: Wed Mar 04, 2009 9:12 pm
by Dxs
the driveshaft lengths are both quite unequal too no?
Posted: Wed Mar 11, 2009 8:31 am
by James
ProT wrote:Matt, on the subject of your front alignment.
I was reading an article on the City R in a Feb 82 Wheels magazine and found the following paragraph interesting.
"Castor is two degrees on all models and there is negative offset steering - but not much and not symmetrical. There is 2mm on the left hand side and 6mm on the right hand side...adopted to eliminate torque steer, the differences matching the differences in angles of the drive shafts, which of course are not the same length."
Could someting like that account for a few mm in your measurements?
Anyone know what negative offset steering is?
Posted: Sat Mar 14, 2009 5:27 pm
by turbocab
ime thinking that this negative offset steering might be the cause of the differences,because today i had my mate help me do a double check of the chassis measurements(last time we did a kinda half arsed job and only measured from the control arm bracket to the front swaybar mount)
so i climbed under the car and checked from the control arm mount to a few points at the rear of the car and found all to be within 1mm.
so as soon as i get some more argon for the mig ile cut out the offending bits and weld them up,glass up the front bar and be done with it.
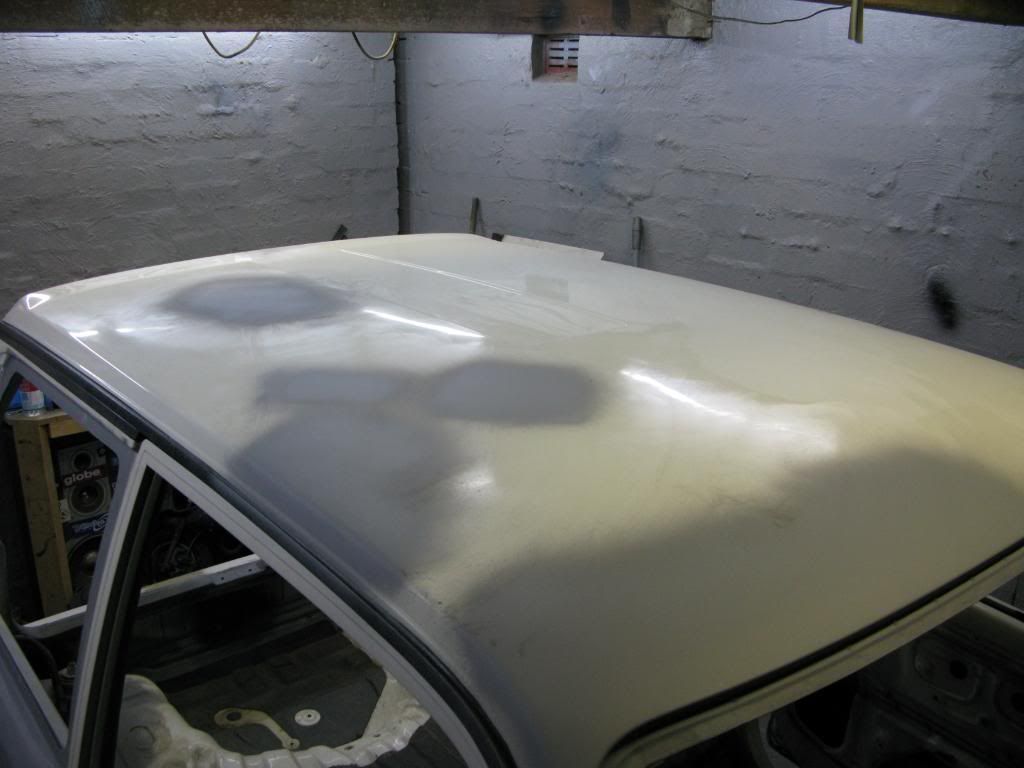
made some good progress today smoothed the margin line for the drivers side door,pulled the windows out of the doors so i can prep for painting and try to find new rubber seals for them,found more rust under the window seal that will need cutting out and welding and filled all the dents in the roof.
matt
Posted: Sun Mar 22, 2009 7:26 pm
by turbocab
a big weekend of work just finished,soo much better to be single when you have a project to finish! it was her birthday today too so ive saved a couple of hundred dollars today

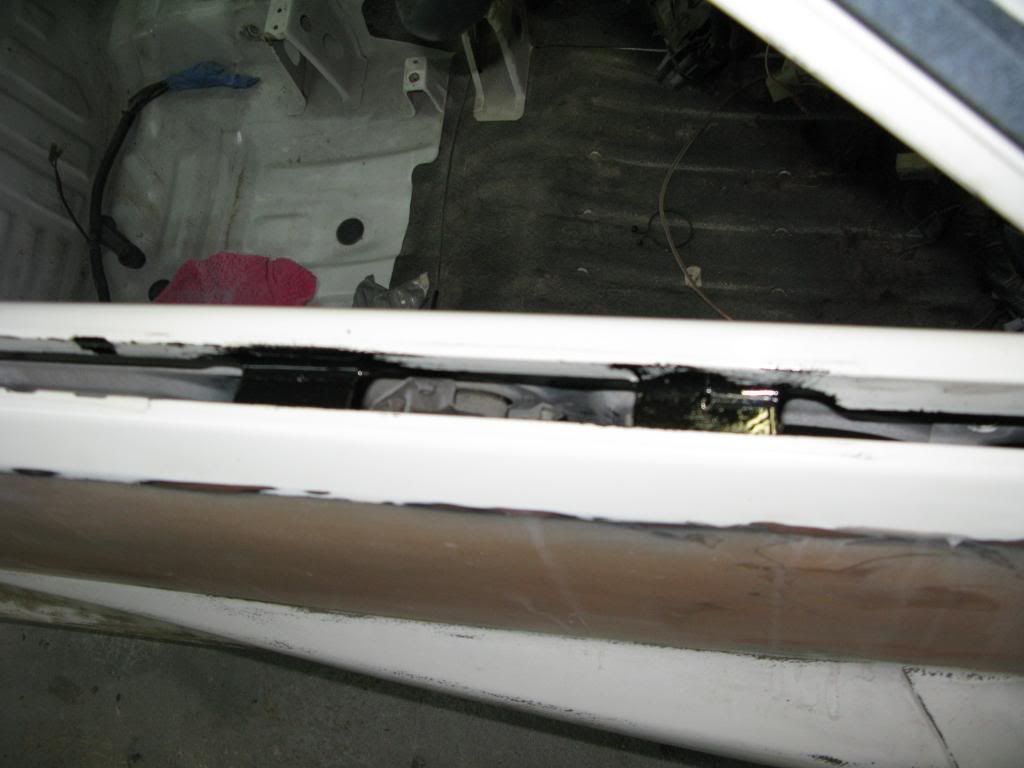
so i cut out and welded up the rusted out dividers that space the inside skin and the outside skin of the doors apart and por15d them and most of the inside of the doors especially at the bottom where water is likely to cause trouble in the future.
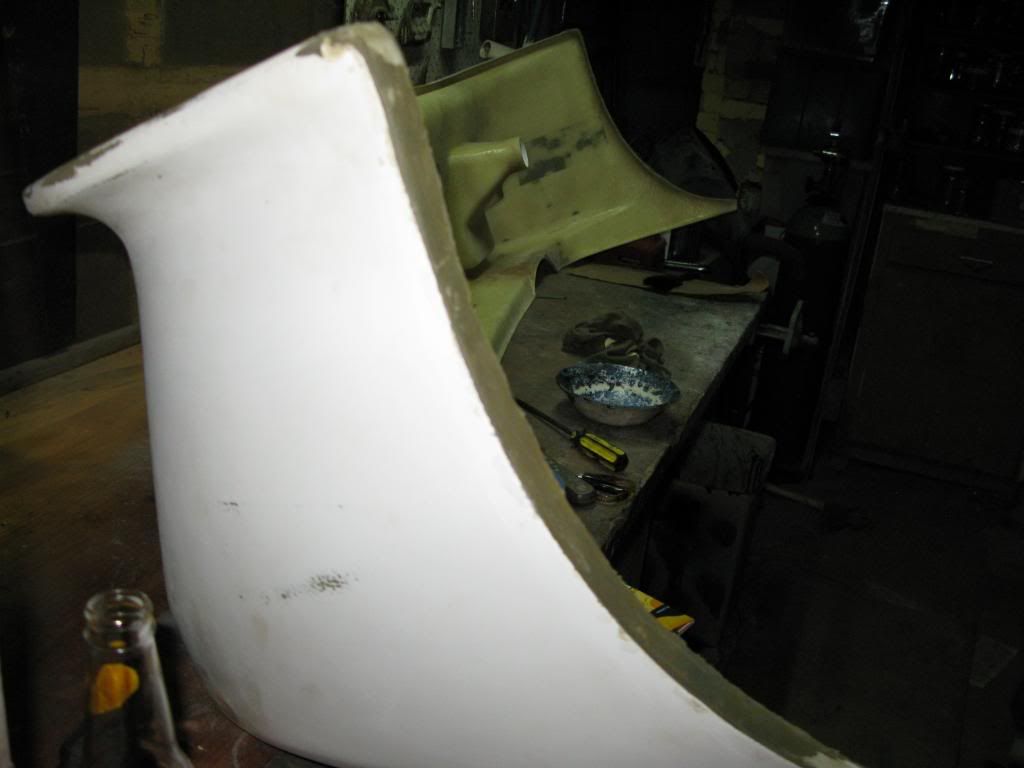
then i set upon the front bar with the jigsaw and angle grinder,i cut the edge against the wheel back by around 15mm and joined the return back on,glassed up the join then applied a layer of resin and micro spheres to fill it out and make it all smooth.
i am very happy with the result so far and i dont mean to blow my own trumpet but ime getting rather good at this sort of thing and i dare say that the untrained eye wont be able to tell the difference between the standard bar and mine.
next job is a nasty one ime going to cut out the offending bits of inner guard that are fouling the wheels on full lock.
this is not as simple as it sounds(you will see when i do it and provide pics) as i have to cut a bit of the chassis rail back and rebuild it so it is still strong but i have a cunning plan and i dare say that it will be stronger than it ever was before but i am worried about the legality side of this mod so ime going to have to do it real nice so i dosnt raise any suspicion.
pics later
matt
roof dents smoothed out
door spacer web bits re welded
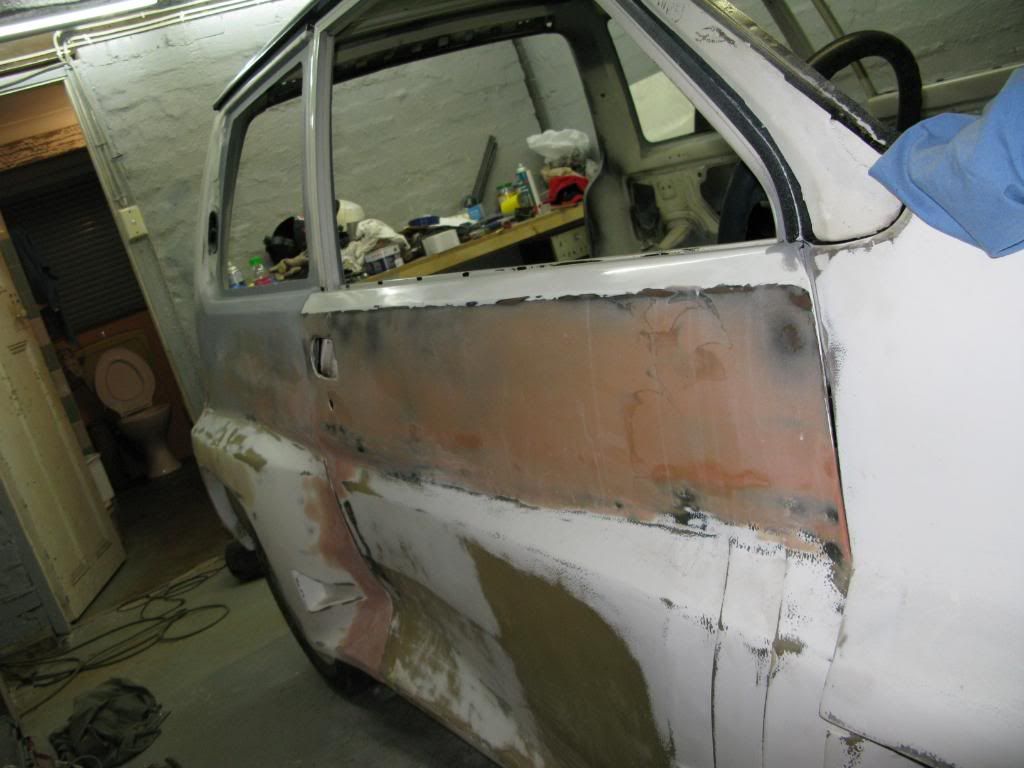
side view with window totally removed
front bar re glassing progress pic not done yet
Posted: Tue Mar 31, 2009 3:56 pm
by rustyhornet
Hey Mate... You could have made the body kit molds your self

Nice work

Posted: Tue Mar 31, 2009 6:23 pm
by turbocab
yeah i probably could have but at that point i had never dabbled with fiberglass before and was a bit daunted by the prospect of building molds for the entire kit.
Posted: Sat Apr 11, 2009 6:36 pm
by turbocab
latest progress
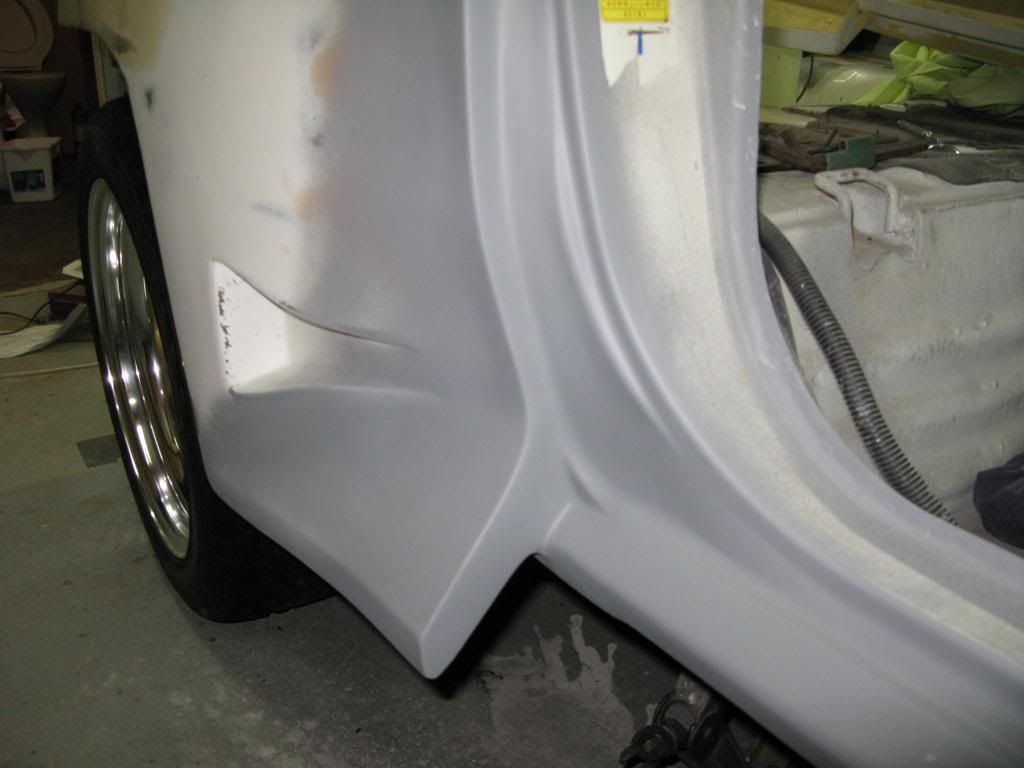
cut the offending areas out of the inner guards to allow full lock turning and suspension travel pics are pretty self explanatory.
before

cut back
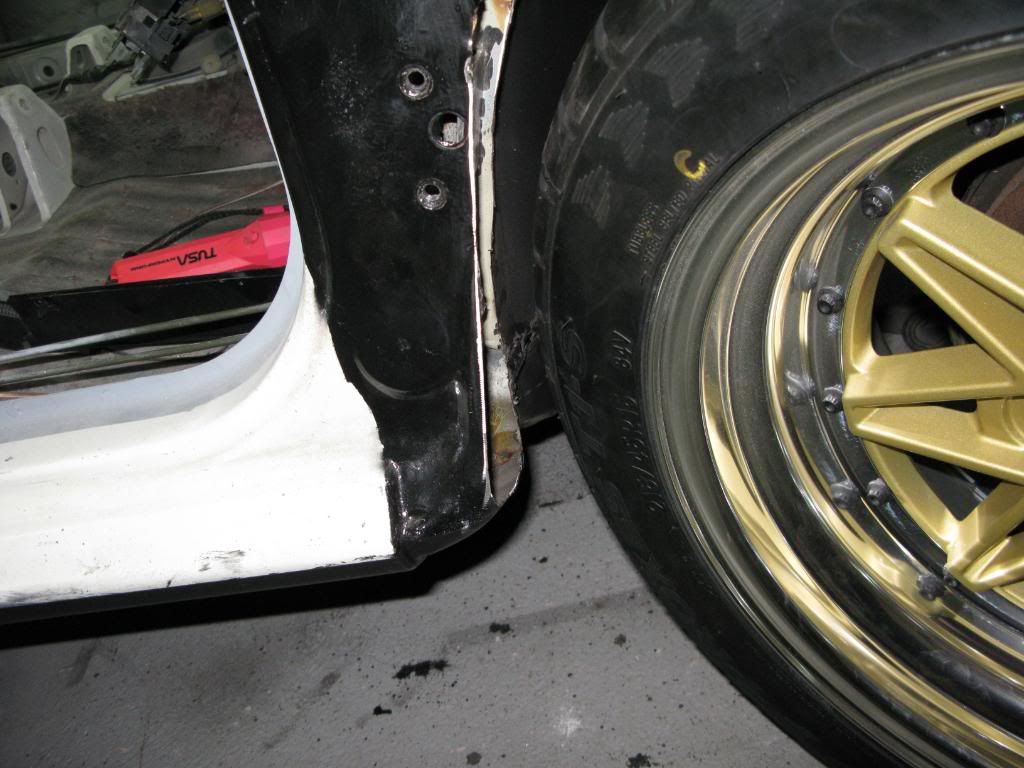
welded back up
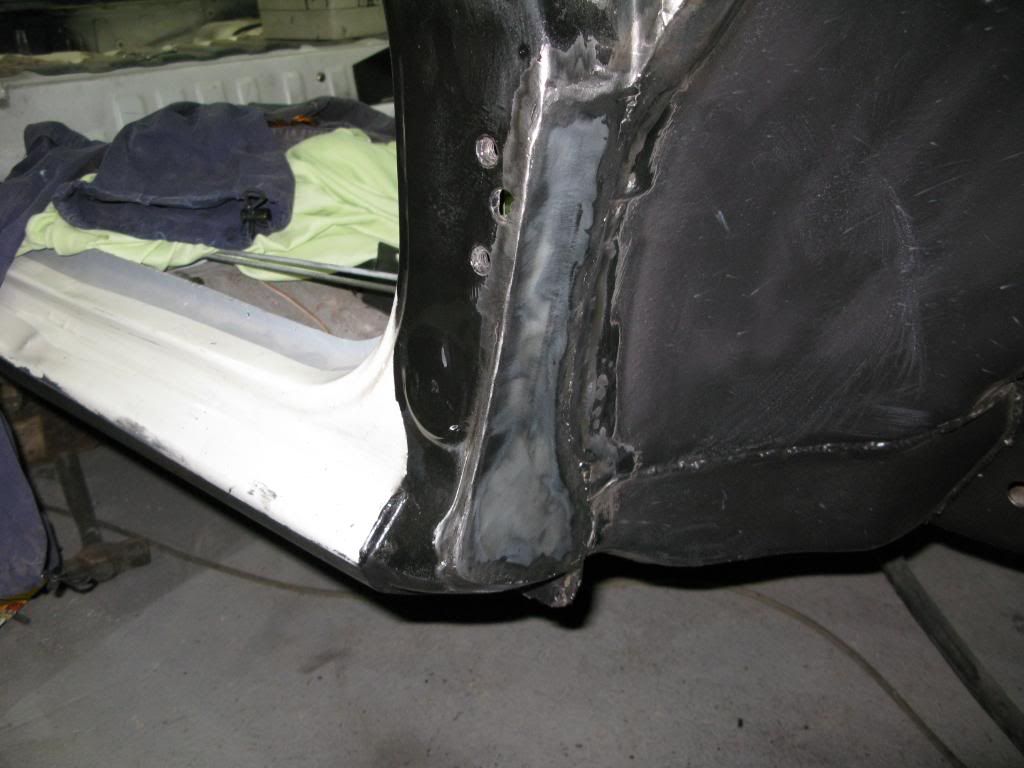
other side finished product
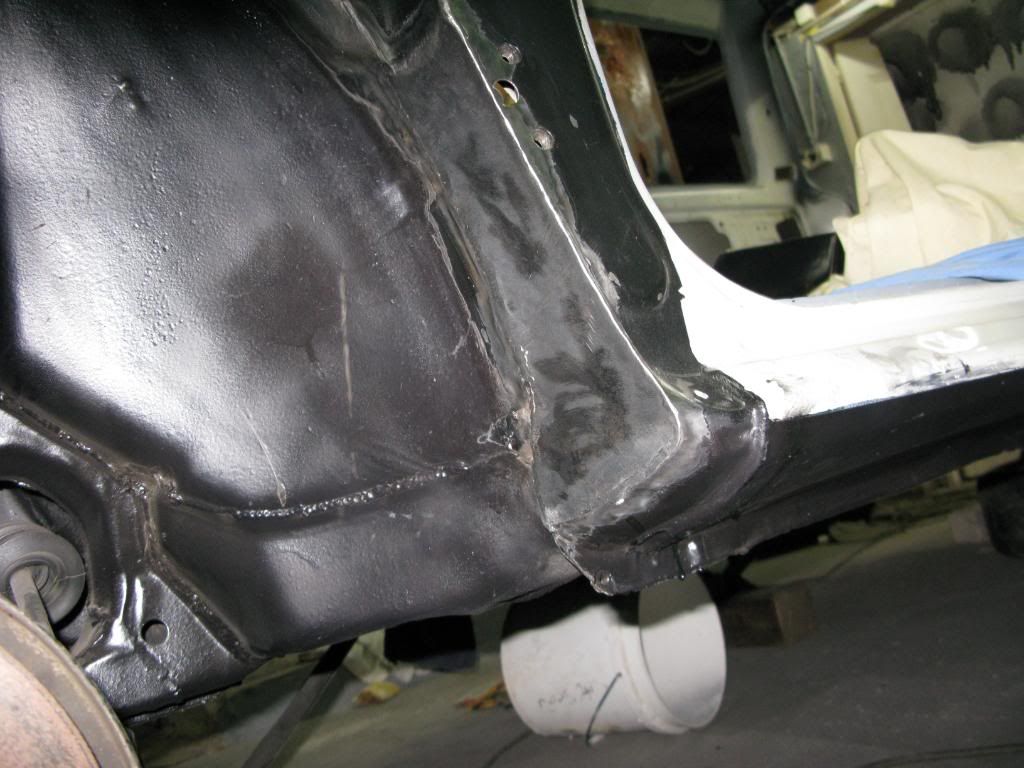
also pics of finished cut back bumper and a couple of shots of the fat front end as viewed from the rear with the doors off.
front bar done and looking sweet.
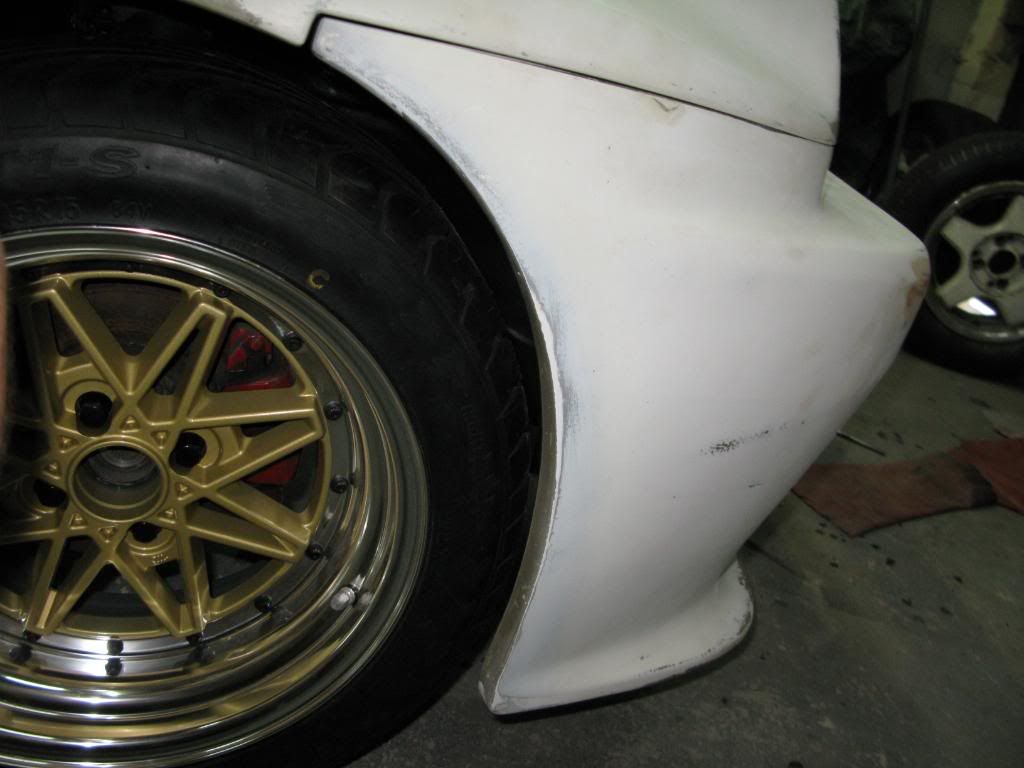
you would never know that it was touching the wheel the other day.
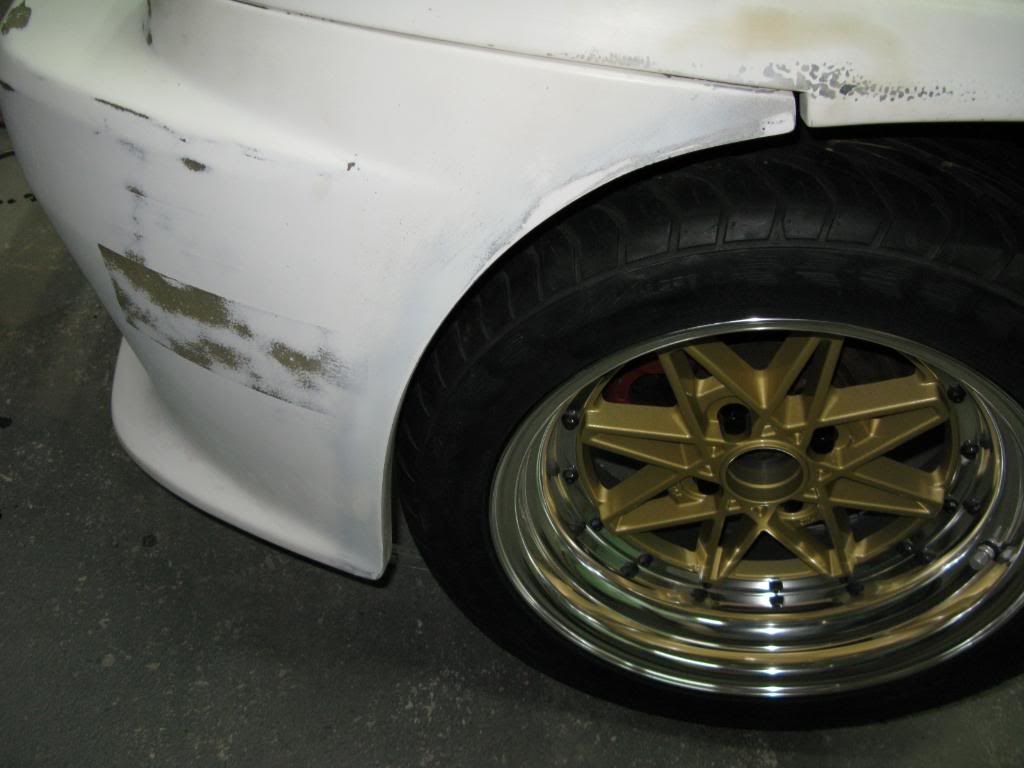
think i have created a monster!

Posted: Thu Apr 16, 2009 11:39 pm
by rustyhornet
Creating a monster indeed

Your getting good @ this cut & shut modification!
Looks PHAT Mate:!:
That's it... I am selling the Rotary

T2R here we come

maybe a photo shoot with two of the finest in Australia would be in order
Posted: Fri Apr 17, 2009 12:28 am
by turbocab
look at the time of night that ime posting this and you may realise why i am soooo excited about that last post richie.........
thats the way bro get stuck into that t2 of yours,i thaught that you would be finished long before me but the way its looking i may just beat you to the finishline mate.
dont sell your rotor just side line it for a bit pleas.
as i said ive set a deadline of september 11 my bday (this year) to have it on the road again so look out.
my mate has sussed a bloke that will spray it for me in exchange for some carpentary work in his workshop so basically all i have to do is prepare for the painting and then put it all back together.
talk soon mate.matty
ps i still have to organise to come to adaliade again and actually meet up with you this time.
Posted: Sat Apr 18, 2009 10:52 am
by K1W1
May I butt in .I'm sure Henry and I would like to be at that gathering too when you get over here.
Posted: Tue May 12, 2009 6:14 pm
by turbocab
i decided i didnt want to see any pop rivets when i open the door so i smoothed over them with bog both sides and i am very glad i did.
on saturday my brothers mates brother is coming over to re bog and sand the doors and rear quarters for me,i didnt have them as perfect as they could be so jason is going to make them spot on for a case of beer,bargan! and is also pretty keen to spray it for me too for the same bribe!
matt
Posted: Tue May 12, 2009 6:53 pm
by James
Dude this is looking f*&^$%king awesome!!!!!!!!
You are indeed getting damn good at this body work stuff.
Posted: Tue May 12, 2009 7:40 pm
by turbocab
thank you but dont look too close

thats why i have one of the best local pannelbeters round on the weekend to tidy up my sloppy work...
matt